
Codex installation and configuration
Tips
It is highly recommended to useCC-Switchfor configuration. It is friendly to Xiaobai.
Codex installation
Codex can use CLI, VS Code plug-in, or Codex App.
If you haven't installed the Codex App yet, you can download it here:
The following is a manual configuration tutorial.
Find the configuration folder for Codex
First open your terminal program and open the Codex configuration folder according to the system run the following command. The user-level configuration directory of Codex is~/.codex; in Windows,_PULUAI_TOKEN_1__corresponds to the current user directory.
New-Item -ItemType Directory -Force "$env:USERPROFILE\.codex"
Start-Process "$env:USERPROFILE\.codex"mkdir -p "$HOME/.codex"
open "$HOME/.codex"mkdir -p "$HOME/.codex"
xdg-open "$HOME/.codex"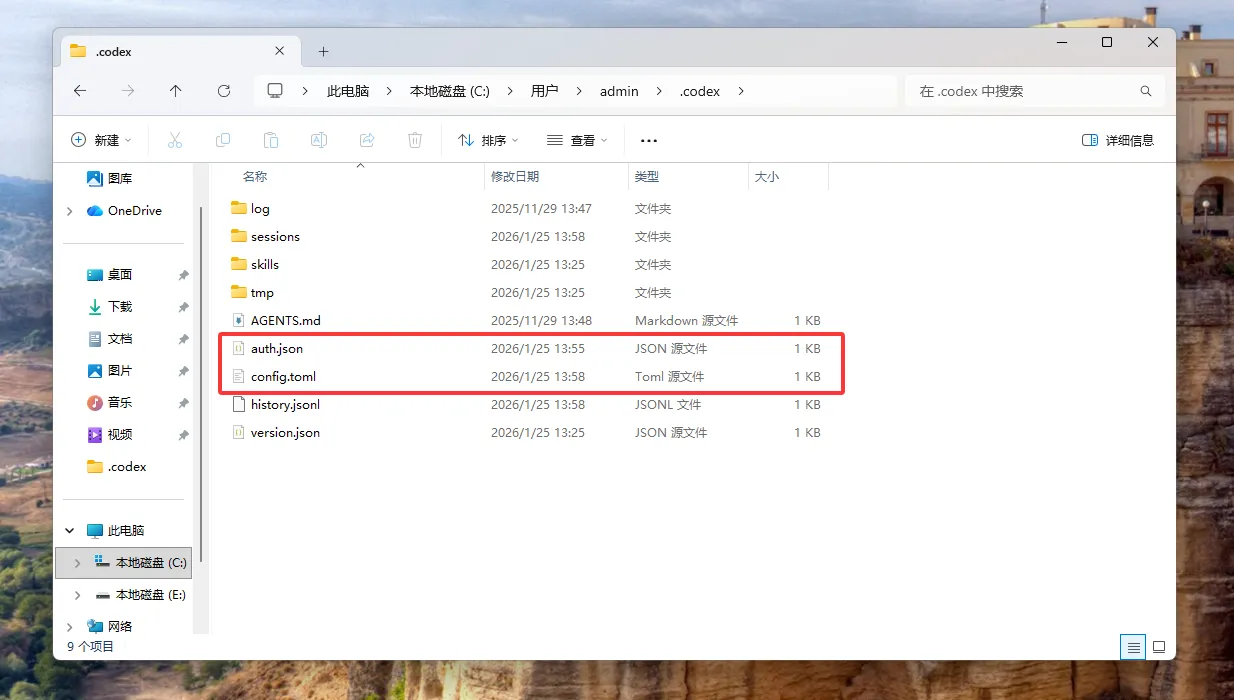
create a profile
Manually create theconfig.tomlandauth.jsonfiles and write the following.
config.toml content
model_provider = "puluai"
model = "gpt-5.5"
model_reasoning_effort = "xhigh"
network_access = "enabled"
disable_response_storage = true
windows_wsl_setup_acknowledged = true
model_verbosity = "high"

[model_providers.puluai]
name = "puluai"
base_url = "https://www.puluai.com/v1"
wire_api = "responses"
requires_openai_auth = true
auth.json content
Fill in the API Key you generated in the background in theOPENAI_API_KEYsection of theauth.jsonconfiguration file, and then save it.
{
  "OPENAI_API_KEY": "填入你的密钥"
}
Verify that the configuration was successful
Running on the terminal:
codexcodexcodexAfter entering the conversation, send a simple question to see if you can return normally.
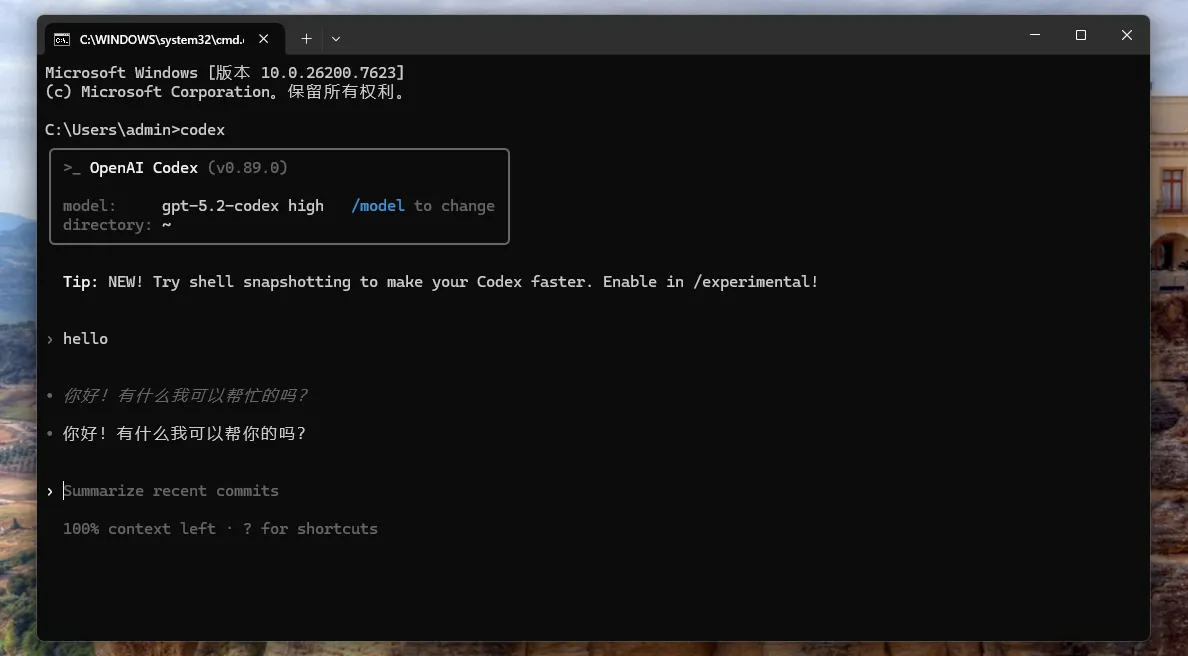
配置生效提醒
Every time we modifyconfig.tomlorauth.json, we need to restart Codex to take effect. PressCtrl + Cto exit the current Codex, and then reruncodex.
This configuration is also available for the VS Code plug-in version Codex and Codex App.